Tool Change Commands
In today’s video, we’re going to talk about tool change commands.
Tool change commands are generally very easy, simple, but yet can be very confusing.
So in today’s video, we will try to understand how the tool change commands are designed and why it’s so important to give the tool change commands in the right order.
Doing a Tool Change
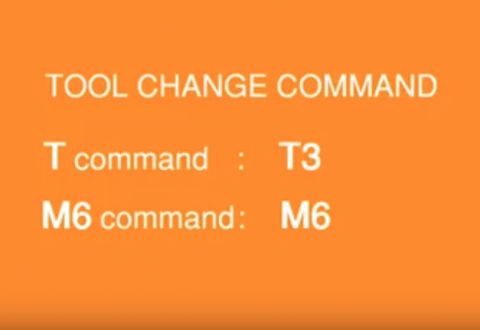
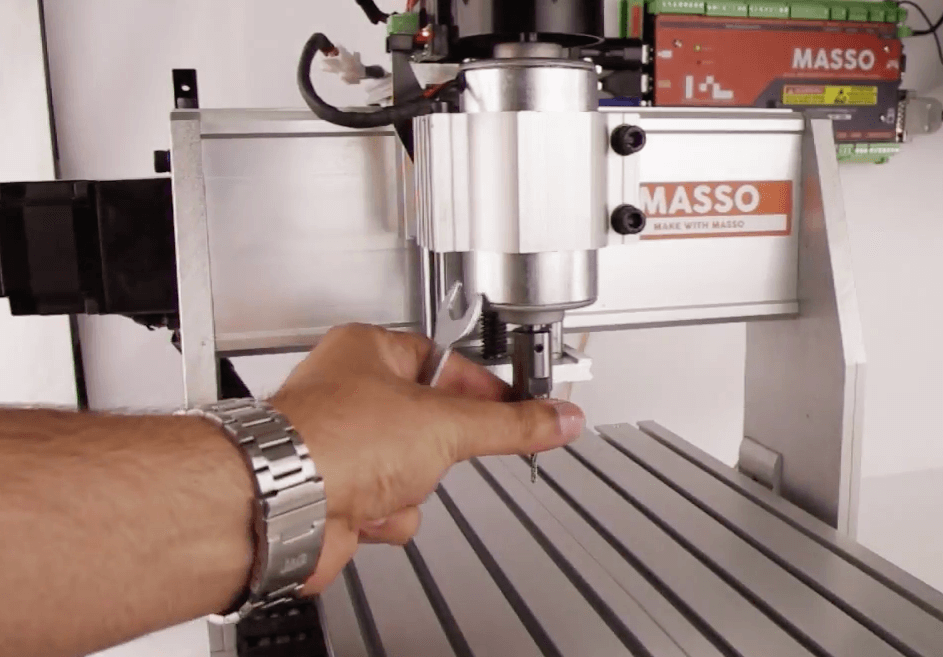
To do a tool change, we simply need a T command and an M6 command.
A T command is basically where you tell the system the tool number that you want to load.
So for example, if you would like to load tool number 3, we will first put in T3, so we’re telling the system that we need tool 3. Then we put in M6, it means change the tool now!. In some controllers, you can actually give the M6 command first and the T command later. But overall it can have a very different effect on how the tool is loaded.
So you might think that if you need to change tool 3 as in this example, we can give T3 M6 or we can give M6 and T3. But in reality, these are two different commands. The way they are executed inside the controller makes a huge difference on how we actually put the T or the M6 command first.
To be able to understand the reason why it affects and how it works, let’s first look at some different types of tool changes. The tool change command was designed keeping in mind that some bigger machines can have a lot tools in the tool changer and it can take a long time for the tools to be loaded. So if we look at this type of tool changer, by the time we give it a command to go and load a tool, it takes a long time.
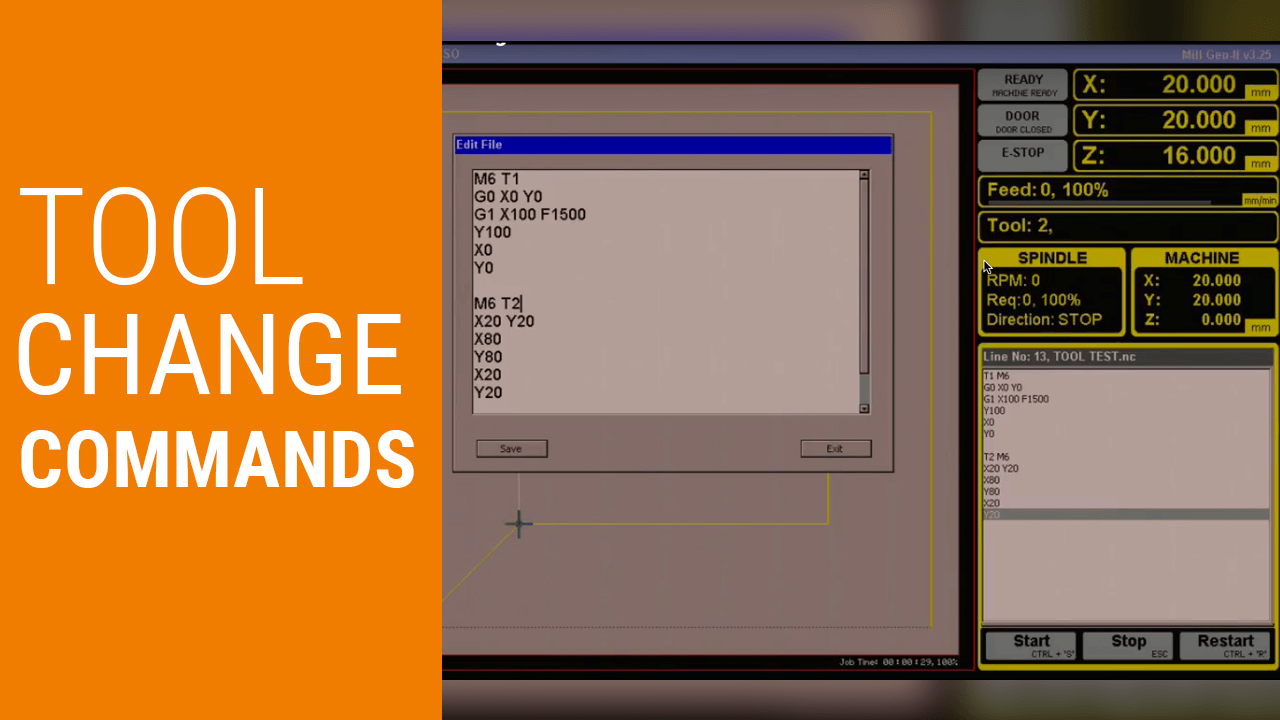
Imagine if you’re running a production job and you need to do a lot of tool changes. You’re wasting a lot of time every time you’re going there, picking up the tool, and coming back. To save time, when we initially start the program, that’s when we have to give the T2 M6 to start off with tool number 2. So we’ll start machining with this tool. But down the track, we will need tool number 3.
Rather than first finishing the machining cycle with tool number 2, then going and fetching tool number 3, we can actually give another command in the very next line as T3, but we don’t put the M6 command here yet.
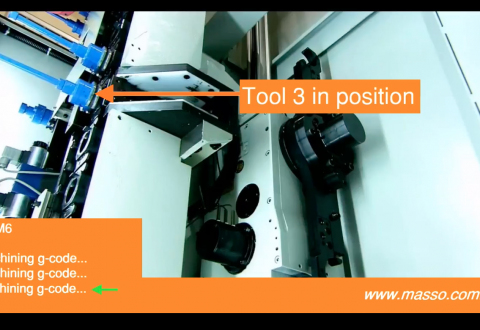
So what’s going to happen is, while the controller is still machining, the tool changer is actually bringing tool number 3 into position and sitting there for the right time.
In our test program, we need to do a tool change when we are done machining with the first tool. We will only have the M6 command after we have finished the machining so that the controller will issue a command to do a tool change now. What happened is that we have effectively loaded the tool into position and once when we are done with machining with tool number 2, we are changing the tool now. So the tool was waiting and as soon as M6 command is given to the controller the tool change will be done straight away and we can start machining. So that’s how the tool change commands are designed to save time on tool changes.
Again, giving the command in the right order has a huge difference. If the command is not given in the right order, you can be actually running a wrong tool.
Let’s create a quick gcode program to see how the tool change command order will impact machining operations. Please watch the below video:
Watch video here:
I hope this documentation has helped you in your tool change commands. Feel free to check more of our cnc documentations in our website or connect with me on Linkedin to see what MASSO is up to next!

Post a comment
You must be logged in to post a comment.